Edge milling and beveling machines are essential tools in the metalworking industry, used for shaping and preparing metal edges for welding and other fabrication processes. Proper installation and operation of these machines are crucial for achieving precise and high-quality results. In this tutorial, we will guide you through the step-by-step process of installing and operating an plate beveling machine.
Step 1: Open the box and read the instructions, check the toolbox
Step 2: Install the walking wheel
Lift the equipment and fix the screws with a hexagonal vibrator, with a recommended lifting height of 500-800mm.
Step 3: Install the electrical system and use a three fire one ground connection method,
Suggested wire specifications: 4mm2 three-phase cable
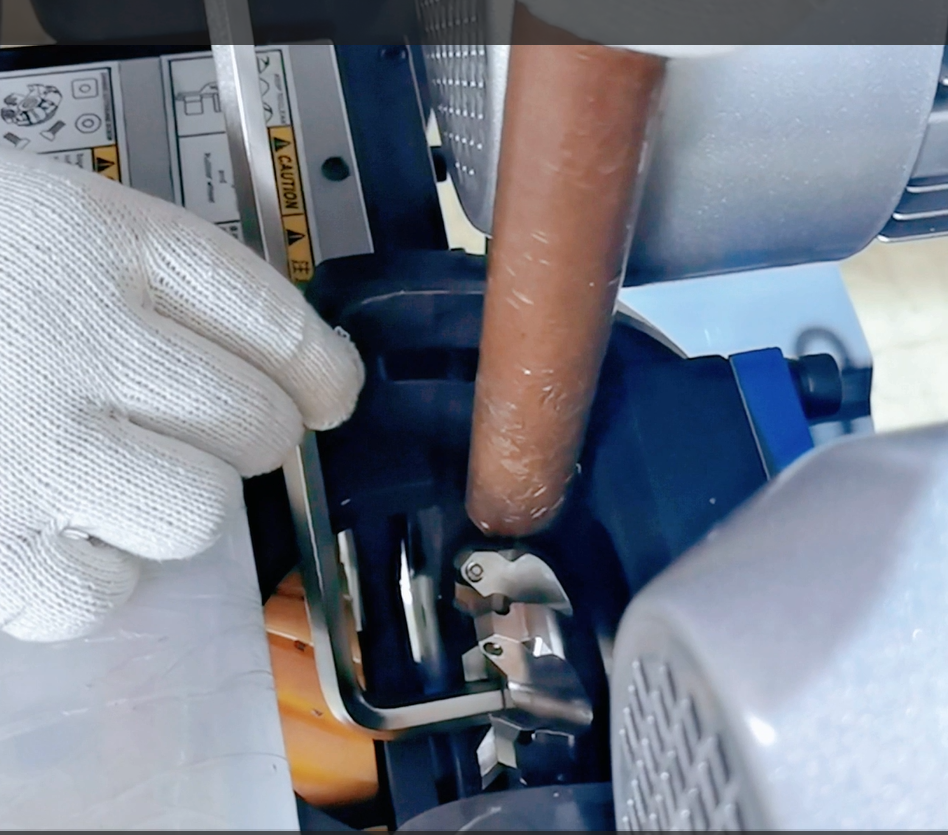
Step 4: Install and disassemble 7 tools using wooden sticks to fix the cutterhead. Use an inner hexagon to remove the cutterhead fixing nut
Attention: Before replacing the blade of the cutterhead, the power must be cut off; Pay attention to high-temperature iron filings to avoid scalding. During the processing, adjust the angle and be sure to use an air gun to clean the iron filings
Step 5: Placement and cleaning of workpieces. Based on the height of the machine and the specifications of the board, create a simple tabletop support,
Attention: Place the steel plate on the platform and keep the machining edge 300mm away from the support frame;
Installation and Operation Tutorial for beveling machine for metal.
The surface that needs to be beveled must not have welding burrs or scars (which affect the service life of the cutting tool and machine)
3. If there is a height difference, the machine height can be adjusted slightly;
4. The height of the shelf should be horizontal. If the ground is uneven, it is recommended to place an iron plate on the ground
Step 6: Adjust the groove angle and depth so that the fruit ratchet can adjust the required angle and lock the bolt
Step 7: Adjustment of groove width and depth.
Step 8: Adjusting the thickness of the clamping plate and the height of the equipment.
Firstly, familiarize oneself with the basic panel operation and familiarize oneself with the functions of each knob.
Equipped with a frequency converter with overload protection function, the equipment will automatically trip when overloaded. At this time, stop the machine for 5-10 minutes and restart it.
Please adjust the travel speed according to the material, and feed and discharge at a low speed
When placing the workpiece, the side of the workpiece is tightly attached to the feed end limit block. Maintain a distance of 10-15mm between the front end and the cutterhead.
Confirm the feeding direction and cutter head rotation direction, adjust the feed rate and spindle speed according to different materials.
The feeding tool cannot truly contact the plate mold rotation control, and the “automatic tightening” on the plate is damaged, clamping or loosening the workpiece.
After hearing the sound of “,” or the action of the sky clamp, it is necessary to loosen and rotate it to avoid equipment fatigue damage.
The height of the equipment can be adjusted by rotating the handwheel or hydraulic pump through the book.
For further insteresting or more information required about plate edge milling machine and Edge Beveler. please consult phone/whatsapp +8618717764772 email: commercial@taole.com.cn
Post time: May-08-2024